Information to Readers :
All updates, from the "Thinking Day" post, will not be updated until the author's father cools down for 1 week. The author is currently at her school's computer lab and having enrichment course - INFOCOMM CLUB.
PS : After this note, this whole post would be only dedicated to Infocomm Club Members, THANK YOU.
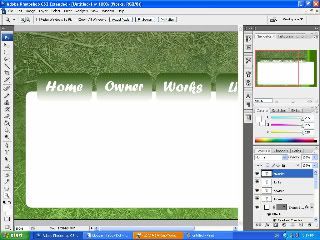
Adobe Photoshop CS3
Webpage Design by using Photoshop
become
- File > New
- Width : 1000
- Height : 600
- Resolution : 72 pixesl/inch
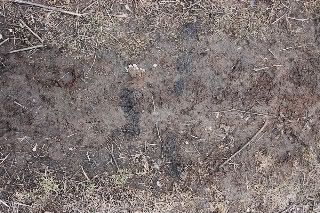
- Open "texture.jpg".
- Drag "texture.jpg" onto the blank image.
- Close "texture.jpg".
- Create New Layer. (Layer 1)
- Double-click on Layer 1.
- Window "Layer Style" pops out.
- Check on "Gradient Overlay" on the left menu.
- A "Gradient Overlay" properties will appear.
- Opacity : 50%
- Check on "Reverse".
- Click anywhere on the gradient thing.
- A thing will pop out. (Gradient Editor)
- Change the black to : "3b6400"
- Click ok.
- Change the white to : "64be00"
- Click ok.
- Create new layer. (Layer 2)
- Click on the Rectangular Marquee Tool.
- Make a small rectangle on the right side of the image.
- Click on the paint bucket tool.
- Color : "3b6400".
- Make another SMALLER rectangle near to the first one.
- Color : "64be00".
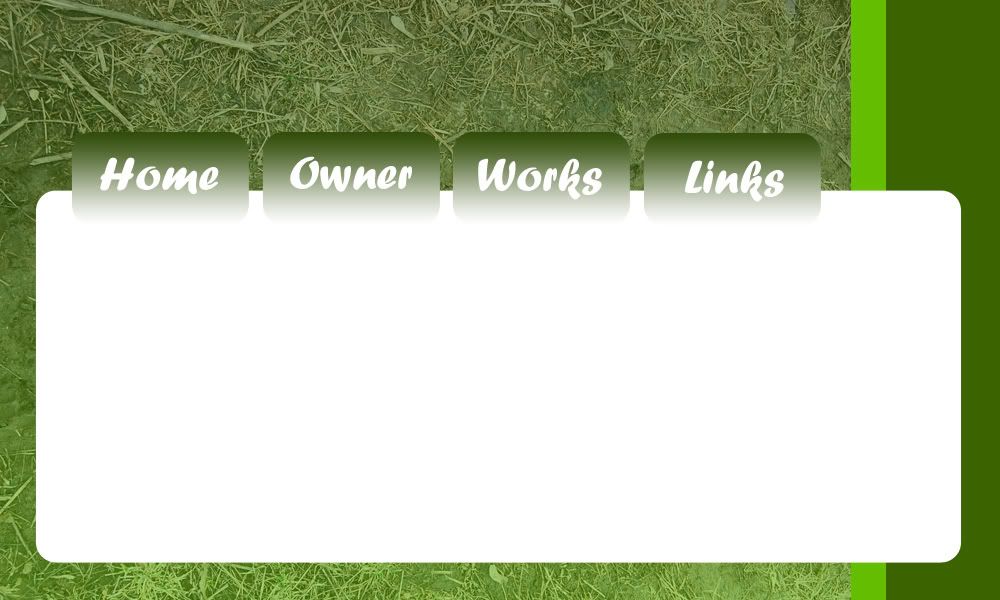
- Use the "Rounded Rectangle Tool".
- Change opacity to : 20px
- Draw a bigger rectangle onto the image.
- Make 4 tabs on top of the box using the rounded rectangle tool.